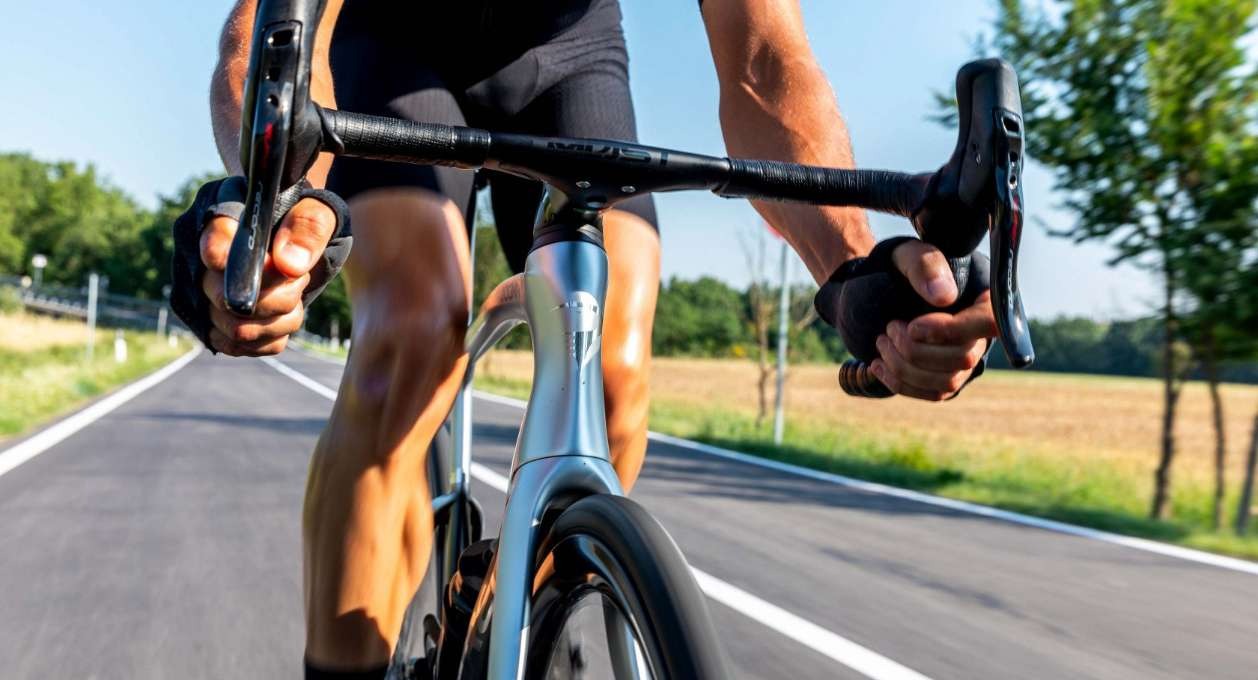
H1 Hero Text
City Bikes Tune-Up Packages
Heading
Lorem ipsum dolor sit amet, consectetur adipiscing elit. Nam massa ex, suscipit id ligula at, luctus tempus dolor.
Heading
Lorem ipsum dolor sit amet, consectetur adipiscing elit. Nam massa ex, suscipit id ligula at, luctus tempus dolor.
Heading
Lorem ipsum dolor sit amet, consectetur adipiscing elit. Nam massa ex, suscipit id ligula at, luctus tempus dolor.
Heading
Lorem ipsum dolor sit amet, consectetur adipiscing elit. Nam massa ex, suscipit id ligula at, luctus tempus dolor. Etiam sodales posuere ligula, eu aliquet nunc commodo vitae. Class aptent taciti sociosqu ad litora torquent per conubia nostra, per inceptos himenaeos.
Heading
Lorem ipsum dolor sit amet, consectetur adipiscing elit. Nam massa ex, suscipit id ligula at, luctus tempus dolor. Etiam sodales posuere ligula, eu aliquet nunc commodo vitae. Class aptent taciti sociosqu ad litora torquent per conubia nostra, per inceptos himenaeos.
Call To Action
Heading
Lorem ipsum dolor sit amet, consectetur adipiscing elit. Nam massa ex, suscipit id ligula at, luctus tempus dolor.
INSTRUCTIONS
Blocks may appear to display incorrectly in the Page Builder but appear correctly in the browser.
GLOBAL
- To remove the margin/space beneath a section, in Section Settings tab, add the Section Class se-section-margin-b-zero
- To remove the margin at the bottom of a page (if last section has a background color or background image for example) at the top of the page select Page Settings > Styles and add the following to the CSS Styles:
- #PageFooter { margin-top: 0; }
- To add margin to a section you may need one or more of these classes:
- To add 15px padding to the bottom of a section: se-section-padding-b-sm
- To add 45px margin to the top of a section: se-section-margin-t-lg
- To add 45px margin to the bottom of a section: se-section-margin-b-lg
- To add 45px margin to both the top and bottom of a section: se-section-margin-y-lg
- To give a section all white text and links, in Section Settings tab, add the Section Class se-text-white.
- To give a full-width section the correct margins add the Section Class cbm-fw-section.
- To give a left aligned heading the gray underline divider, open Edit Content, click on code view </> and add the class cbm-heading-divider to the heading tag:
- <h2 class"cbm-heading-divider">H2 Page Text</h2>
- To make multiple buttons align neatly in a group open Edit Content, click on code view </> and add the class se-btn-group to the <div> wrapping multiple buttons:
- <div class="se-btn-group"><a class="btn btn-primary" href="#">Learn More</a><a class="btn btn-primary" href="#">Learn More</a><a class="btn btn-primary" href="#">Learn More</a></div>
- For a left aligned section add the class left along with se-btn-group: <div class="se-btn-group left">
HOMEPAGE HERO TOP
- Centered Text: Add 1 Column Center Aligned Text on Background Image block.
- Left Aligned Text: Add 1 Column Left Aligned Text on Background Image block (make sure section is set to full-width).
- In Column Settings, remove the placeholder background image.
- Change the button text and link.
- In Edit Content section, click on code view </> and do the following:
- Change h2 header open and close tags to "h1" and update heading placeholder text.
- Paragraph text should be used for subtext if needed.
- In Section Settings tab, add the Section Class cbm-hp-hero-top. Add a background image and set background color to black (for ADA).
- If the section below has a background color, add the Section Class se-section-padding-b-zero.
LANDING PAGE HERO TOP
- Centered Text: Add 1 Column Center Aligned Text on Background Image block.
- Left Aligned Text: Add 1 Column Left Aligned Text on Background Image block (make sure section is set to full-width).
- In Column Settings, remove the placeholder background image.
- In Edit Content section, click on code view </> and do the following:
- Remove the paragraph element and the div element with the button in it.
- Change h2 header open and close tags to "h1" and update heading placeholder text.
- In Section Settings tab, add the Section Classes cbm-lp-hero-top. Add a background image and set background color to black (for ADA).
- If the section below has a background color, add the Section Class se-section-padding-b-zero.
HERO INNER (homepage or landing pages)
- Add 1 Column Center Aligned Text on Background Image block.
- In Column Settings, remove the placeholder background image.
- Change the header and paragraph text as well as button text and link.
- In Section Settings tab, add the Section Class cbm-hero-inner, add a background image and set background color to black (for ADA).
- Unless the section above or below is text only add the Section Class se-section-margin-y-lg.
- If it is the last section on the page or the section below has a background color set, add the Section Class se-section-margin-b-zero.
H2 INTRO PAGE TEXT
- Add 1 Column Center Content with Button Block.
- Replace the header and paragraph content. Remove the button if desired.
- If there is not a button at the bottom of the intro text, add the Section Class no-button to center the content vertically.
DIVIDER SECTION
- To separate content into obvious sections on a page, use the Solid Border Divider Section (top block under Dividers)
- In Section Settings, add the Section Class cbm-fw-section and make sure it is selected to be full width.
SERVICE MENU
- Add any column Service Menu Block.
- Replace Header & Price
- Replace or remove callout.
- Replace/add all services.
- In Section Settings, add the Section Classes cbm-service-menu-section. Make sure it is selected to be full width.
- On the BOTTOM row add the Section Class se-section-padding-b-sm.
CATALOG SECTION (TABULAR OR CAROUSEL LAYOUT)
- Add a Catalog Section Block.
- In Edit, give the catalog section a title, make all appropriate catalog choices. Add a button if desired.
- In Section Settings, add the Section Class cbm-fw-section and make sure it is selected to be full width.
FEATURE TEXT BELOW IMAGE SECTIONS
- Add any number of Image Over Content Sections
- This class works on any 1, 2, 3, or 4 column Content Over Image Section
- In Section Settings, add the Section Class cbm-feature-card-section and make sure it is selected to be full width.
- For each block, in Edit Content replace the image.
- It is IMPORTANT that all images used be cropped consistently in a row. For a 3 or 4 column section they should be at least 768px wide. For a 2 column section they need to be at least 1080px wide.
- To match the crop ratio of the homepage sections you will need to open code view </> and make the following change:
- from: data-width="360" data-height="300" data-ratio="360:300"
- to: data-width="555" data-height="300" data-ratio="555:300"
- This will change the crop ratio that the image loading tool uses.
- To have the image be a link with the zoom hover feature you will need to add the class cbm-feature-card-img to the div wrapping the image and then link the image:
- <div class="cbm-feature-card-img"><a href="#"><img class="img-responsive" data-width="555" data-height="300" data-ratio="555:300" alt="" src="https://www.sefiles.net/merchant/3989/images/site/52e9e5651c00d0f92ad91bc9aa612eac-slimC.jpg?t=1660226546687"></a></div>
- Update the alt text. Very important if the image is linked.
- Replace the header and replace/add paragraph text. Replace button text and link.
- In the code view </>, do the following:
- Change h2 header open and close tags to "h3"
- For t


